Welcome to Meetingflow! Whether you're in sales enablement or a customer-facing team manager, we're excited to help you enable your teams to save time and feel more prepared for every customer meeting.
Team Enablement Setup Checklist
Understand how your team can get the most out of Meetingflow
Watch how to get the most out of Meetingflow so you can guide your team to success
Read about Meetingflow's product capabilities and how they can benefit your team
Create custom meeting templates

Navigate to the Templates tab within the Library
Check out the existing templates - try editing one to see the formatting options
Assess any playbook material and built templates that align with your best practices:
- Have standard prep steps for different meeting types? Include it in the plan template!
- Using a particular sales framework? Include the requirements in the notes section to help keep reps' eyes on the prize
- Have a standard pitch or QBR deck? Attach any stock assets for a particular meeting type, so reps always have the latest version
Add CRM custom field requirements

Connect your Salesforce account
Before configuring custom fields, a user connection must be made first between your Salesforce and Meetingflow accounts. If you have your own Salesforce login, you can do this through your account.
Video tutorial: How to Add Salesforce

1. From the Dashboard, click "Log Meetings to CRM" from the card on the bottom right

2. Select Salesforce from the popup window

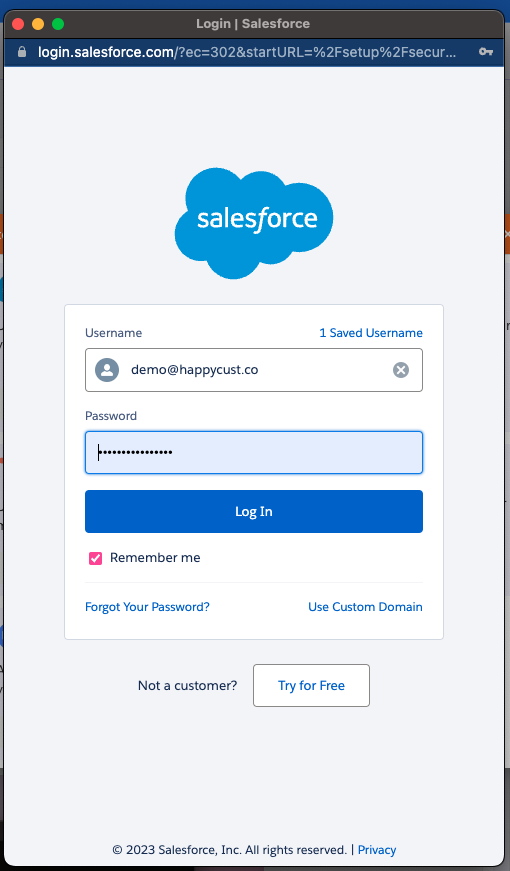
3. Log in with your Salesforce credentials in the popup window
Once a user has connected Salesforce to Meetingflow, select desired custom fields
In order to configure custom Salesforce fields, you must be a Meetingflow admin (you do not need to be a Salesforce admin)
1. Navigate to "Settings and Members" and select the "Integrations" tab
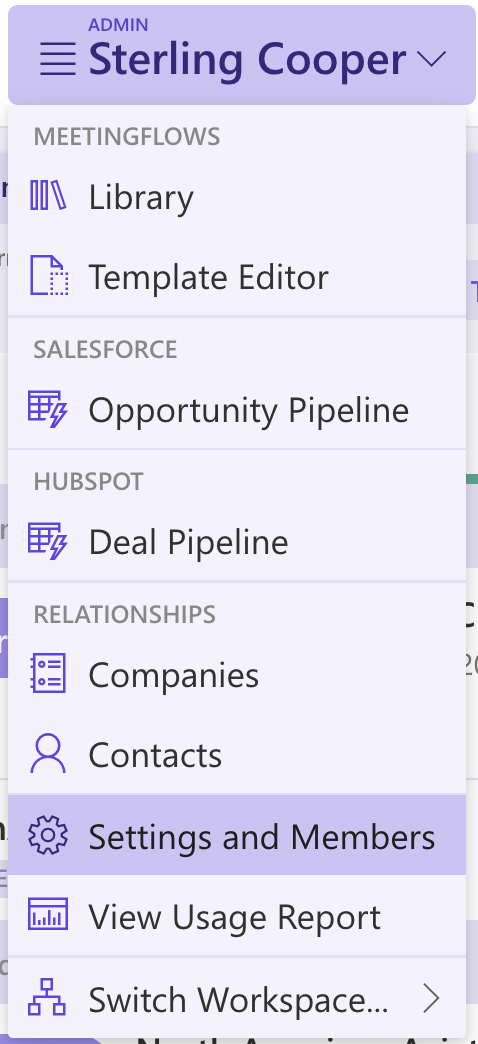
2. Select "Configure" within the Salesforce section
3. Navigate through the tabs that correspond to fields on a particular Salesforce object, and select any fields you wish to display in Meetingflow.
Meetingflow will match the field order based on your default layout settings in Salesforce.

Connect your Hubspot account
Before configuring custom fields, a user connection must be made first between your Hubspot and Meetingflow accounts. If you have your own Hubspot login, you can do this through your account.
Video tutorial: How to Add Hubspot

1. From the Dashboard, click "Log Meetings to CRM" from the card on the bottom right

2. Select Hubspot from the popup window

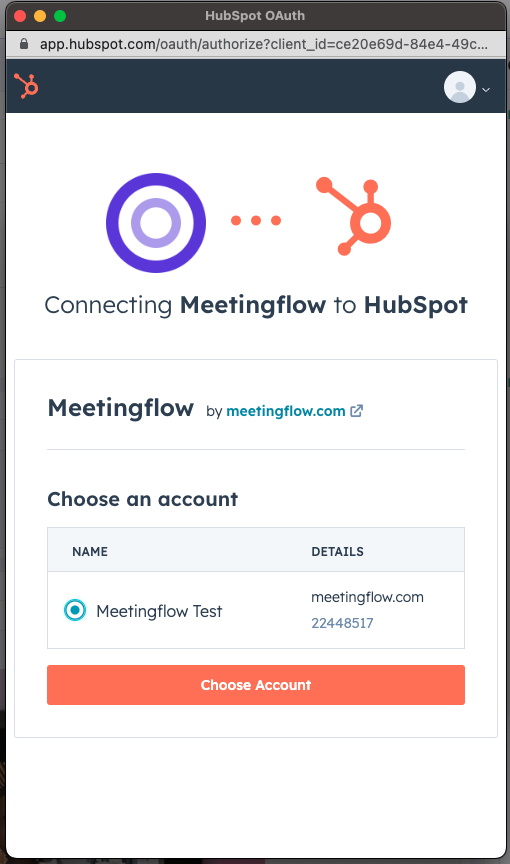
3. Log in with your Hubspot credentials in the popup window
Once a user has connected Hubspot to Meetingflow, select desired custom fields
In order to configure custom Hubspot fields, you must be a Meetingflow admin (you do not need to be a Hubspot admin)
1. Navigate to "Settings and Members" and select the "Integrations" tab

2. Select "Configure" within the Hubspot section
3. Navigate through the tabs that correspond to fields on a particular Hubspot object, and select any fields you wish to display in Meetingflow.
Once selected, you can drag-and-drop to rearrange the order that you want the Hubspot fields to appear

Assign user roles and invite the team!
Understand different user roles
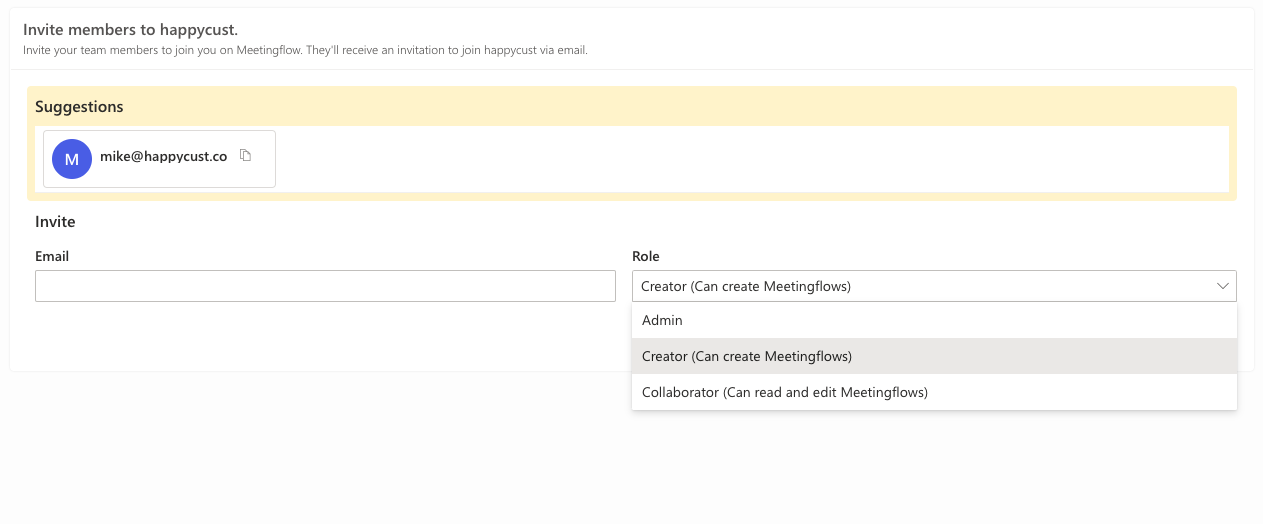
The main difference between a Creator and a Collaborator is the ability to create NEW Meetingflows. Collaborators can edit existing Meetingflows just as a Creator can.

Send invites
You need to be a Meetingflow admin to invite other Creators.
1. Select "Invite members"
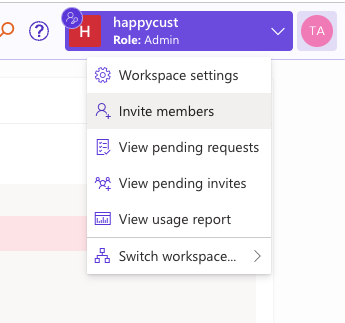
2. Add user emails and assign role types - users will receive an email invitation
