As an admin user in your Meetingflow Workspace, there are settings you can apply to all users.
How do I know if I'm an admin user?
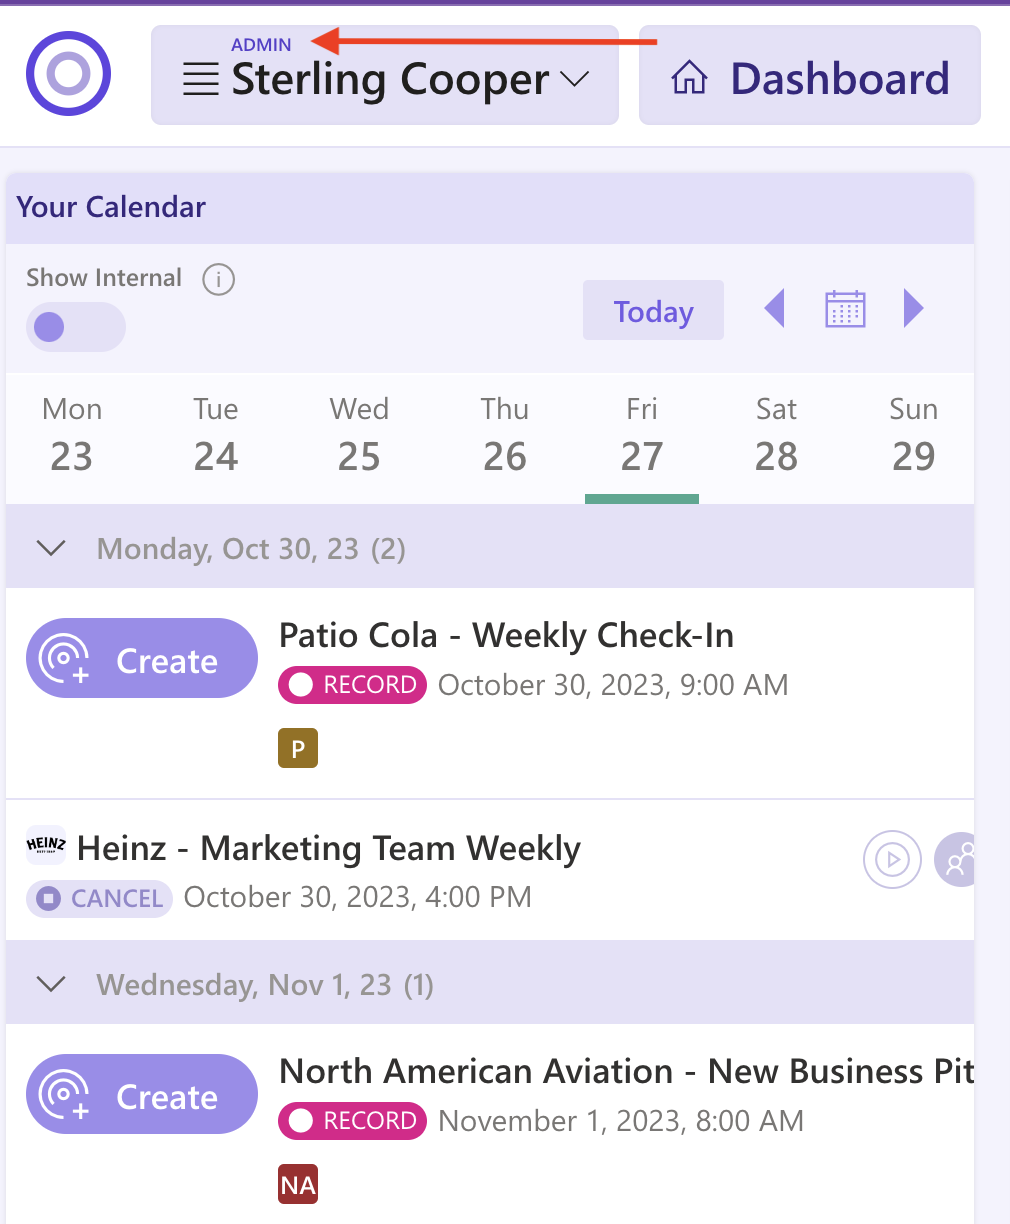
When logged into Meetingflow, your role type will display in the Workspace dropdown. Only current admins can add new admin users
Within "Workspace settings" there are several settings tabs

Workspace
Set the Workspace name and default Meetingflow visibility.


Domains
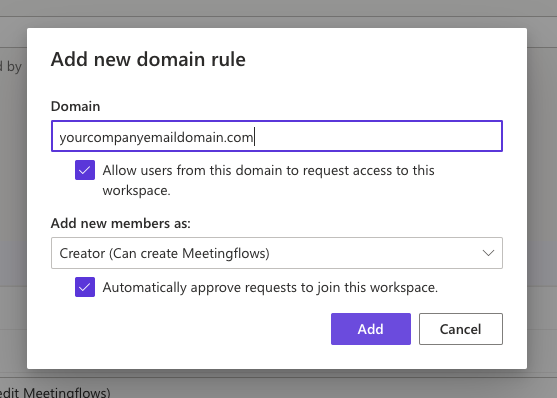
Set Workspace domain behavior. This controls what email domains can request access to your Workspace, or set the ability to auto-approve membership.
Example: Employees from your company, Acme, have emails as person@acmeinc.com, you will want to use "acmeinc.com" as the domain.

Memberships
Invite individual users, change an active user's Role in the dropdown menu, or delete a user to revoke access from the Workspace.

Billing
Purchase a license or upgrade your license tier.
Feel free to reach out to us at support@meetingflow.com to discuss what tier is right for you
Call Recording Usage
See the current call recording usage for month-to-date, as well as a historical log of call recording hours used in the Workspace.
Please note, this includes any recordings that have been deleted by users

Integrations
You will see how many of your Workspace users have integrations active. This is also where you can set Hubspot or Salesforce custom fields to display in Meetingflow for easy updating.
Connect your Salesforce account
Before configuring custom fields, a user connection must be made first between your Salesforce and Meetingflow accounts. If you have your own Salesforce login, you can do this through your account.
Video tutorial: How to Add Salesforce

1. From the Dashboard, click "Log Meetings to CRM" from the card on the bottom right

2. Select Salesforce from the popup window

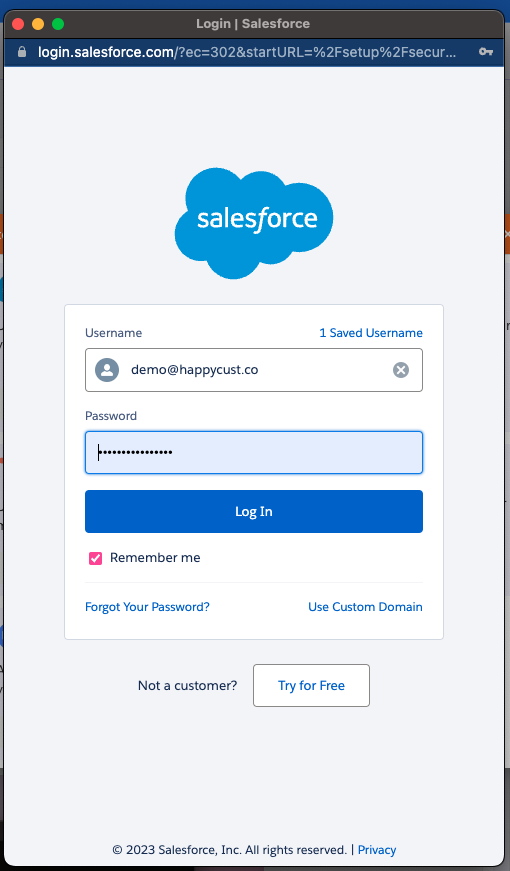
3. Log in with your Salesforce credentials in the popup window
Once a user has connected Salesforce to Meetingflow, select desired custom fields
In order to configure custom Salesforce fields, you must be a Meetingflow admin (you do not need to be a Salesforce admin)
1. Navigate to "Settings and Members" and select the "Integrations" tab
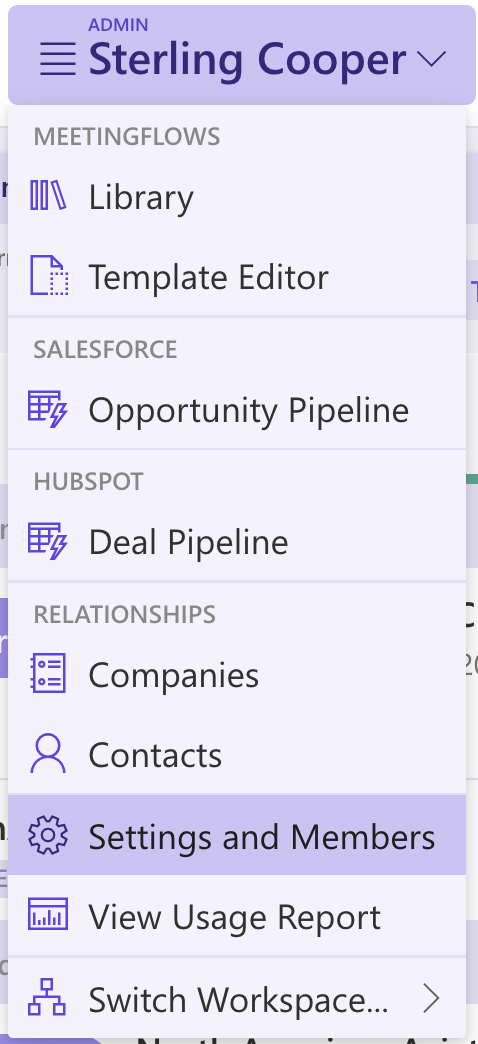
2. Select "Configure" within the Salesforce section
3. Navigate through the tabs that correspond to fields on a particular Salesforce object, and select any fields you wish to display in Meetingflow.
Meetingflow will match the field order based on your default layout settings in Salesforce.

Connect your Hubspot account
Before configuring custom fields, a user connection must be made first between your Hubspot and Meetingflow accounts. If you have your own Hubspot login, you can do this through your account.
Video tutorial: How to Add Hubspot

1. From the Dashboard, click "Log Meetings to CRM" from the card on the bottom right

2. Select Hubspot from the popup window

3. Log in with your Hubspot credentials in the popup window
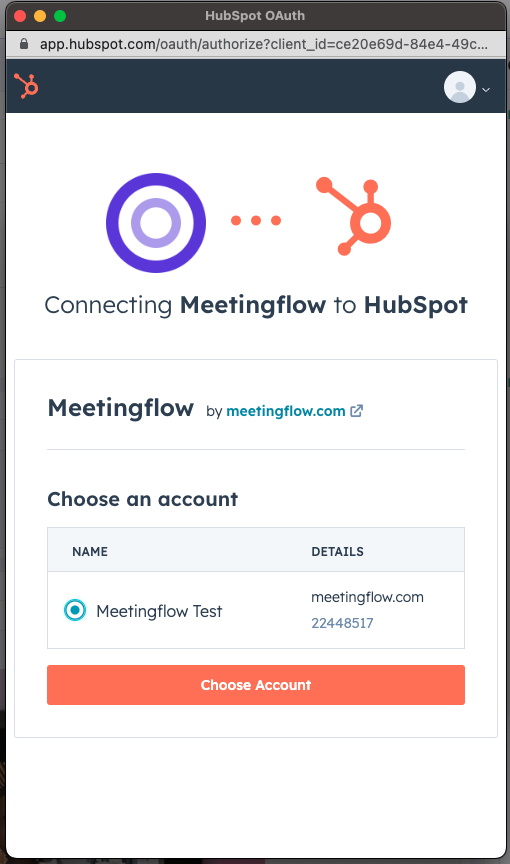
Once a user has connected Hubspot to Meetingflow, select desired custom fields
In order to configure custom Hubspot fields, you must be a Meetingflow admin (you do not need to be a Hubspot admin)
1. Navigate to "Settings and Members" and select the "Integrations" tab

2. Select "Configure" within the Hubspot section
3. Navigate through the tabs that correspond to fields on a particular Hubspot object, and select any fields you wish to display in Meetingflow.
Once selected, you can drag-and-drop to rearrange the order that you want the Hubspot fields to appear

Delete Workspace


Additional Admin Features
Outside of settings, there are other features only Workspace admin users can access.
Usage Reporting
Workspace admins can access a usage report, showing basic stats for the last 30 days trailing from the Workspace dropdown. Learn more about usage reporting here.
Workspace Default Template
Workspace admins can set a default template for the entire Workspace. Admins can set the default from the Template Editor view.

