Meetingflow supports custom fields from Salesforce Accounts, Opportunities, and Leads, and Hubspot Companies and Deals.
Connect your Salesforce account
Before configuring custom fields, a user connection must be made first between your Salesforce and Meetingflow accounts. If you have your own Salesforce login, you can do this through your account.
Video tutorial: How to Add Salesforce

1. From the Dashboard, click "Log Meetings to CRM" from the card on the bottom right

2. Select Salesforce from the popup window

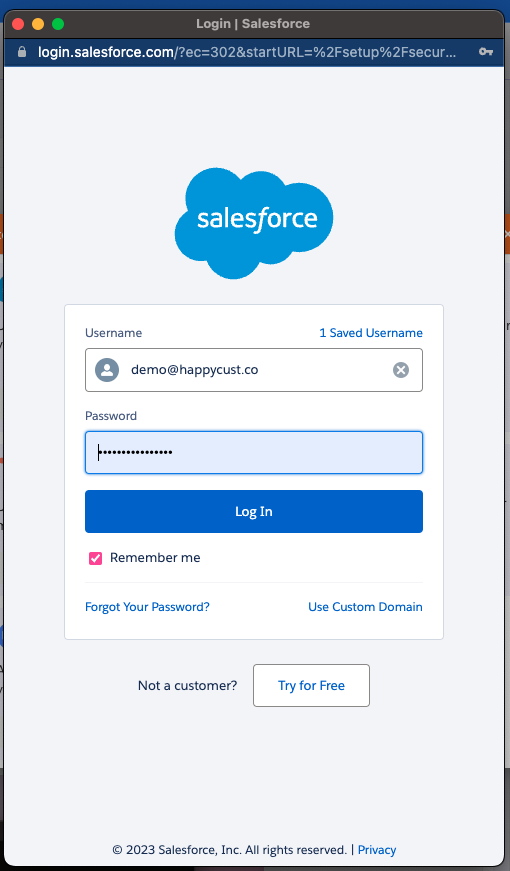
3. Log in with your Salesforce credentials in the popup window

Once a user has connected Salesforce to Meetingflow, select desired custom fields
In order to configure custom Salesforce fields, you must be a Meetingflow admin (you do not need to be a Salesforce admin)
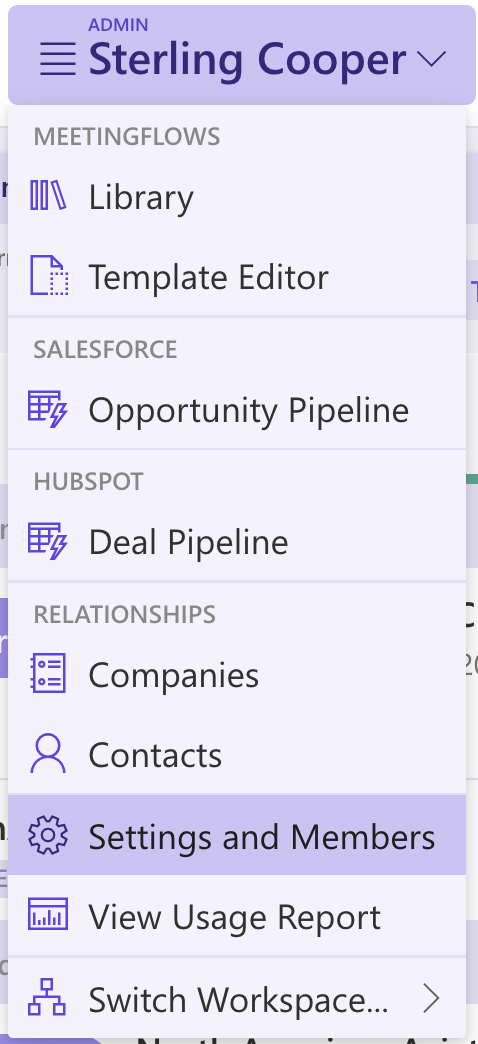
1. Navigate to "Settings and Members" and select the "Integrations" tab

2. Select "Configure" within the Salesforce section
3. Navigate through the tabs that correspond to fields on a particular Salesforce object, and select any fields you wish to display in Meetingflow.
Meetingflow will match the field order based on your default layout settings in Salesforce.

Connect your Hubspot account
Before configuring custom fields, a user connection must be made first between your Hubspot and Meetingflow accounts. If you have your own Hubspot login, you can do this through your account.
Video tutorial: How to Add Hubspot

1. From the Dashboard, click "Log Meetings to CRM" from the card on the bottom right

2. Select Hubspot from the popup window

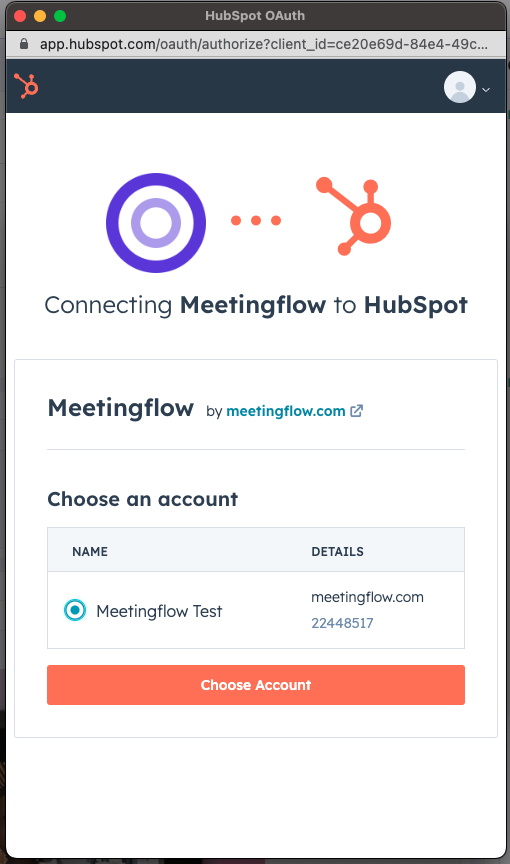
3. Log in with your Hubspot credentials in the popup window

Once a user has connected Hubspot to Meetingflow, select desired custom fields
In order to configure custom Hubspot fields, you must be a Meetingflow admin (you do not need to be a Hubspot admin)
1. Navigate to "Settings and Members" and select the "Integrations" tab

2. Select "Configure" within the Hubspot section
3. Navigate through the tabs that correspond to fields on a particular Hubspot object, and select any fields you wish to display in Meetingflow.
Once selected, you can drag-and-drop to rearrange the order that you want the Hubspot fields to appear


